Monday, May 30, 2011

Jannike's Sketch at Practical Scrappers

I originally made this page for Practical Scrappers' Cameos and Silhouettes feature, but as is it based on Jannike's sketch for this month, we finally decided to leave it for the sketch feature. I think it's a beautiful sketch, I just flipped it to suit my pics better.


Loved these silhouette rub-ons with pearls, so delicate.


Don't forget to visit Practical Scrappers to check out other beautiful takes on this sketch!

List of supplies:

Patterned Paper: K and Company, TPC Studio
Ribbon: TPC Studio
Rub-ons: TPC Studio
Acrylic Stickers: Story of Us
Flowers: EK Success
Stickers: K and Company
Glue: Glue Glider Pro
Markers: Copic

Pia's May Sketch at Practical Scrappers

I love all of Pia's sketches, they make my mojo flow!!!!!!!!!!!! This month's sketch was particularly fabulous, and I've had so much fun working on it!


Love all these little trees, don't you? 

Thursday, May 26, 2011

Nikki Sivils Giveaway!

Don't miss the Nikki Sivils Giveaway and feature today at Practical Scrappers. There's some amazing work by the DT and some of the readers, as well a a fabulous prize. The deadline is June 1st. Check it out!

Monday, May 23, 2011

Punches, punches, punches!

Today's feature at Practical Scrappers is using punches on cards: shape, border, corner, any kind! I wanted to use my punches in a way I hadn't used them before, and I started looking online. I found this fantastic tutorial at the Just Imagine Crafts blog on how to use a circle stencil combined with a corner punch to get a great looking punched circle, but I don't have a circle stencil, so I decided to try the technique without it. I had no choice of corner punches either as I have only one (they are so heavy to mail...) so this one had to do.

First of all, I detached the bottom plastic part of the punch.

Then, I cut a circle (almost 3 inches in diameter) on the front of the card. I tried with several circle sizes on paper first, and it seemed to work with every size, but maybe I was just lucky, so you'd better try the circle size you choose on some scrap of paper first. 


The next step was to place my punch as far as it would go into the circle, and punch. 


For the next punch, you need to make sure the shapes overlap the tiniest bit. Can you see the white square in the pic below? That's where they overlap.


 Here it is almost finished:


And here is the finished card. It has an envelope to hold money and a tag to write a message on.


When you look inside, it looks like this:

I don't like the look of the brown and blue lines, too informal for the look of the card, but once I'd drawn them there was nothing I could do about them!!!! 
Finally, here's a close-up of the inside of the card:


And now I am off to my online scrapbooking store to get some corner punches... I wonder how I've survived for so long with only one!!!!!!!!!!!

List of supplies:

Patterned Paper: SEI 
Chipboard shapes: SEI
Pressed linen accents: SEI
Sentiment Sticker: My Mind's Eye
Metal embellishments: BSue Boutiques
Pearls: Mark Richards
Glue: Glue Glider Pro

Saturday, May 21, 2011

More cards!

I've now finished Debby's challenge NSD2011#10 at Let's Scrap. Here are the two other cards I've made for it, completely different in style!


Cardstock: Bazzill
Patterned paper: American Crafts, October Afternoon
Texture plate: Sizzix
Crystals: Darice
Mini Alphabet stickers: October Afternoon
Digi Stamp: Kate Pullen
Markers: Copic, Staedtler
Glue: Glue Glider Pro
I cut the hexagons with my Silhouette.


List of supplies:
Cardstock: Bazzil
Patterned Paper: Lily Bee Design
Die Cut: My Mind's Eye
Brads: Assorted
Metal Butterfly: Bsue Boutiques
Butterfly die cut: Guess what: it came with my Scrap Room May kit!!!! LOL)
Pearls: assorted
Glue: pop dots, Glue Glider Pro

Wednesday, May 18, 2011

Enjoy!

 Another card for challenge NSD2011#11 at Let's Scrap


DD's Pre-K class went to see The Little Mermaid at the theatre today, and I went along with some other moms. We had a great time, the play was fantastic and the children enjoyed it a lot! Not a scrappy morning, but a very enjoyable one!


List of supplies:
Cardstock: Bazzil
Patterned Paper: KI Memories
Badges: KI Memories
Crepe paper flower: Jubilee
Pennant pin: Jubilee
Brads: assorted
Ribbon: assorted
Glue: Glue
 
Glider Pro

Happy Birthday, Princess Parker!

Last Sunday was my little friend Parker's birthday, she turned three and she is having a Princess Party next weekend. DD is so excited! She has to wear a princess dress plus I bought her the most amazing princess shoes in the cheapest shop in the mall yesterday, full of pink hearts, and bling, and bows! When she was getting ready for school this morning, she couldn't resist it and ended up with the princess shoes on! It wasn't easy to make go back to the boring black trainers she has to wear for school... Here's the card I've made for Princess Parker:

girly

It is based on this week's gorgeous sketch at Let's Scrap, and if you want to play along, you have until next Tuesday to enter your take on it. There is a yummy prize from The Scrap Room (May's Flavor of the Month kit!!!), so check it out!


List of supplies:
Cardstock: Bazzil
Patterned paper: My Mind's Eye
Bling: Cosmo Cricket
Crown: Bsue Boutiques
Letter stickers: assorted


Tuesday, May 17, 2011

Life is good!

I am working on Debby's NSD challenge at Let's Scrap. You have to create 4 cards, and once you do you are allowed to enter a group where you'll find instructions to create a card holder. Here's my first card:

It was so easy to make with this great sketch, I put it together in less than 15 minutes. That is very unusual for me!!!!!!!!!!!! 


List of supplies
Patterned paper: Bo Bunny
Stickers: Bo Bunny and assorted
Brads: Crate Paper and assorted

El Ramo (the bouquet)

I worked on a page for Practical Scrappers' Cameos and Silhouettes feature yesterday, but, since the page is based on Jannike's sketch for this month (a beautiful sketch, have you seen it yet?), we decided to leave it for the sketch reveal at the end of the month. I had to work on a page to put next to it in the album, however, so I created another page using similar elements. This page shows the bouquet toss, and it is based on Let's Scrap's sketch for challenge NSD2011#12. I think it's a fabulous sketch, which could be interpreted in many different ways, so I am looking forward to seeing what other people will post in the gallery. If you want to play along, you have until May 31st to post your take on it.


I'm not very happy about that HAPPILY EVER AFTER sticker in the bottom left corner; the problem is I tried to place a rub-on that came with the album and said "the bouquet toss", but they are very bad quality rub-ons and it ended up looking smudged, which would be OK in other pages, but not this one, so I had to cover it somehow!


I re-printed the picture and fussy cut the bouquet to add on top of the picture for more dimension, I like the effect on the photo, it makes the bouquet pop from it.


If you want to see the page that went next to this one in the album, you'll have to come back on May 30 for the sketch feature reveal. Want a sneak peek, though? Here it is:

List of Supplies:
Patterned Paper: K and Company, TPC Studio
Rub-ons: TPC Studio, Karen Foster
Pearls: TPC Studio, Mark Richards
Stickers: Basic Grey, K and Company
Glue: Glue Glider Pro
Foam squares: Scotch
Markers: Copic, Staedtler

Monday, May 16, 2011

Wedding album - title page

I've been trying to join in the fabulous monthly challenges going on at Let's Scrap for NSD since the beginning of the month, but, having BFF at home didn't make me want to scrap a lot. She left last night (sniff, sniff) so I am back to full time scrapbooking! 
I initially thought Ana's challenge would be very hard for me. You are supposed to use black and white photos, paper and embellies, and a touch of one other colour. However, since I am scrapbooking a wedding album, I actually found it VERY easy! For this challenge I made the title page of the album.

Title page, album, bride and groom


I love the end result, I think the touches of yellow on the black and white LO make it look special. Thanks you, Ana, for this great challenge! And if you'd like to play, there's time until May 31st!

List of supplies:

Patterned paper: Making Memories
Metal swirl: Karen Foster
Circles: Pink Paislee
Markers: Copic (if you wonder where I used it, look at the little hearts on the circles), Staedtler
Butterfyl Borders: Martha Stewart
Flowers: Pebbles
Stickers: K and Company
Letter Stickers: American Crafts
Title: EK Success
Glue: Glue Glider Pro


Saturday, May 14, 2011

Let's Scrap 5-11-11

I've finally started to scrap my sister's wedding pics. I've bought tons of yummy wedding stuff but some of it is so elegant I feel sort of intimidated by it, so I started with something more casual, the wedding preparations. I can't scrapbook chronologically, anyway, so I will do the album as usual, whatever inspires me the most is scrapped first, and then placed chronologically in the album. I had a pic of my sister and her father in law getting the balloons ready, and then some pics of the preparations (I had to choose just four to fit this sketch -Let's Scrap's 5-11-11). I also added a list of things they did on that day for the journalling. I love all the little details, so there are lots of close-ups in this post (you are officially warned: it is a LONG post!!!). Here is the LO:


And here are the close-ups:

Lots of the details are fussy cut from an amzing sheet of Pink Paislee paper. I thought this hand was the perfect match for the list of "to dos".


More fussy cutting from the same paper and some Studio Calico cards as well. I love those little cards that come with the kits, always so handy for adding details!


I loved these lace hearts from Mrs Grossman's, just right for wedding pages, and can be used on an elegant page or a vintage or shabby chic one.


A little flag on the top left corner...


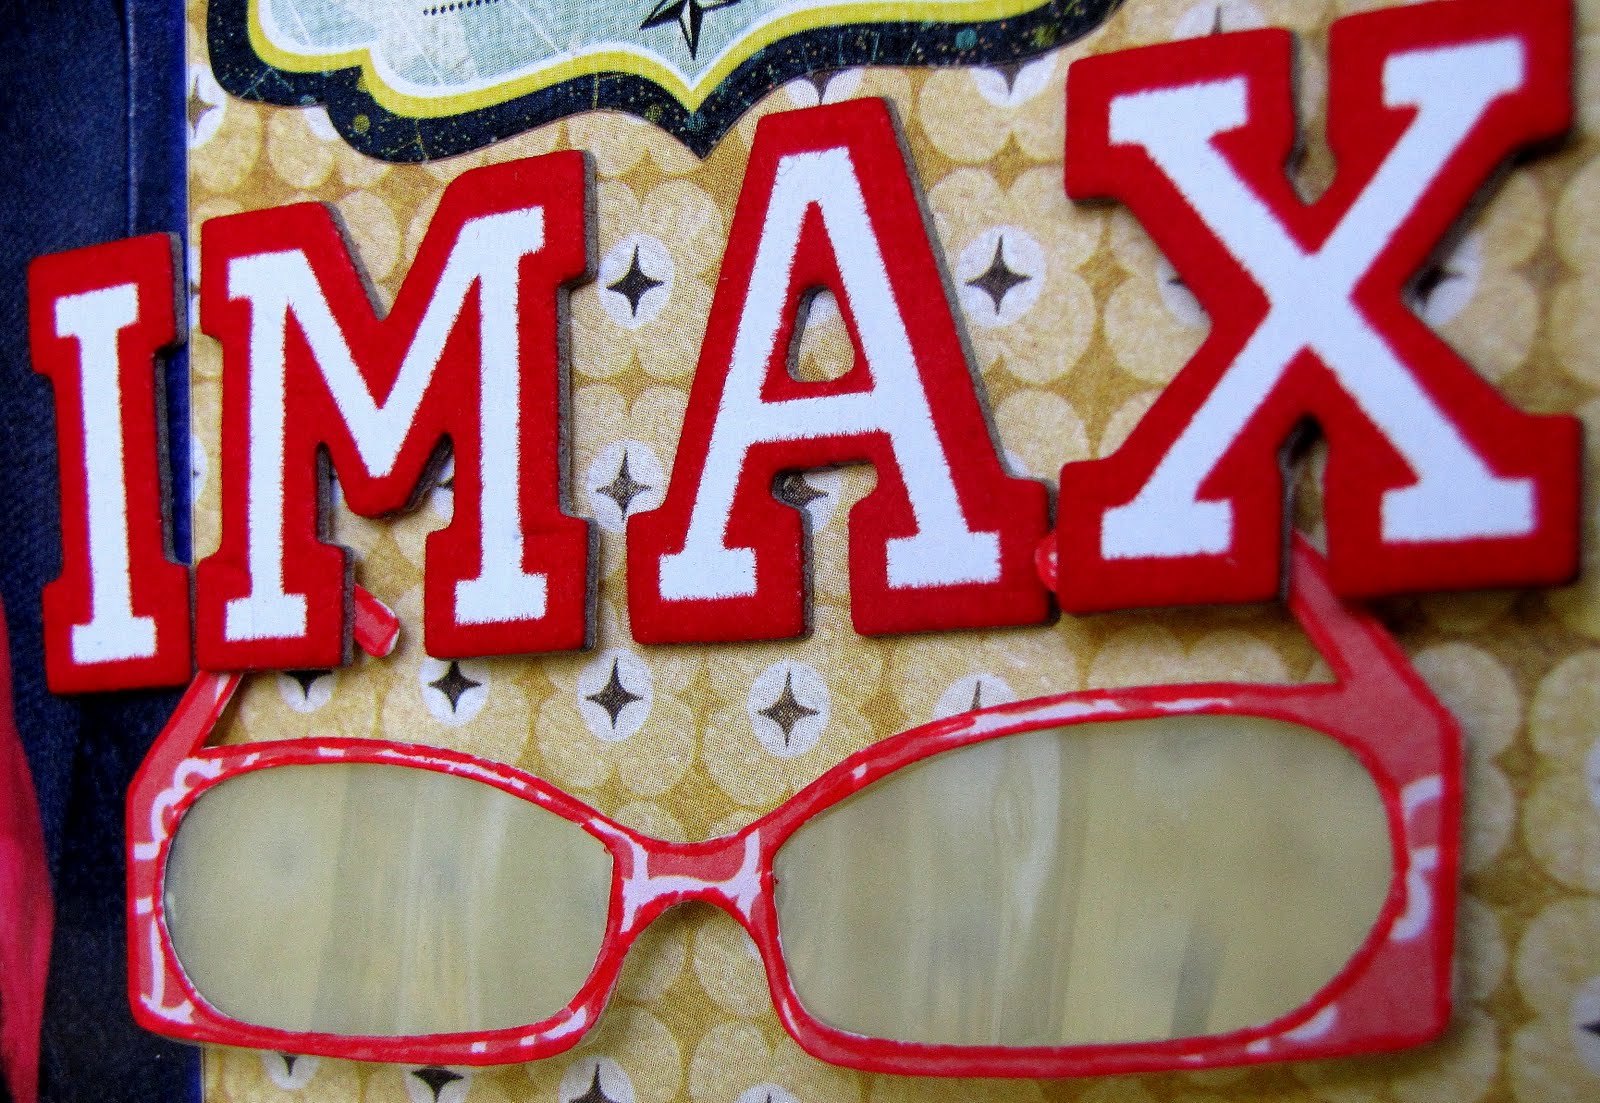
And the title. Love the bottom of Sassafras Papers!

List of supplies: 

Patterned Paper: Sassafras Lass, Pink Paislee, Assorted
Lace heart: Mrs Grossman's
Brads: K and Company
Alphabet Stickers: MLS, Basic Grey
Stickers: EK Success, K and Company
Pins: Making memories, assorted

Tuesday, May 10, 2011

Mom and kid

This week's feature at Practical Scrappers is Mom and Kid LO's. The perfect chance to scrap this photo of DD and me that I love. We took it at the IMAX theatre at the Science Museum in London, and it was a movie we loved, plus we had tons of fun playing with the huge glasses.

I thought the LO wouldn't be complete without a pair of glasses, so I used my Silhouette to cut one, and added vellum and some transparent packaging on top to make them shine.
I've saved the tickets from the theatre but, of course, now I wanted to scrap them they were not to be found anywhere, so I used these ticket stickers instead!

Supplies:
Patterned Paper: My Mind's Eye
Stickers Pink Paislee
Letter Stickers: American Crafts

Sunday, May 08, 2011

Nurses' Day Card

DD has the most amazing school nurse. She can patch anything up and make anybody feel good in a few minutes. And if she can't, she'll get mom or dad to school immediately. Who wouldn't love her? I know DD loves visiting her so she volunteers to take anybody in her class who needs a band aid or has any other problem to her office. She also gets her t-shirts wet because she knows the teacher will send her to see "nursey" and get a dry one. I've just found out the International Nurses Week is this week, so I have made a card for her. DD will choose a present, sign the card, probably add a picture, and take it to school to give it to "nursey". Here is my card:


TO ALL NURSES, HAVE A GREAT WEEK!
Supplies:

Patterned paper: from my box of scraps!
Cardstock: Bazzill
Paper flowers: Sassafras
Brads: Bo Bunny
Sentiment sticker: My Mind's Eye
Chipboard swirl: from the RAK I got from my friend Kathy!!!!

Tuesday, May 03, 2011

Missed the feature!

I've been ready for yesterday's feature at Practical Scrappers for a long time. I've made my cards, taken the pics, edited them, but forgotten to post them at the Designer Gallery! I missed the deadline and I didn't notice, as I have one of these perpetual diaries where you have to write the date on each page and I gave April 31 days, so all the dates I have for the month of May are wrong!!!!!!!!!!!! I've just corrected everything and I hope I'm not making that mistake again.... 
Anyway, here are my cards. The first card is a very simple onethat I put together in about 15 minutes, but still looks good. Love it when that happens.


This one took me much longer than 15 minutes. It's a money holder, though you can't tell from the outside. 


You can now have a peek inside:


This is the inside of the card and you can see there's a small envelope in it. Inside it, you can put the money, as well as writing a message on the tag. 


I love the fact that you could get money as a present but still get sth beautiful with it, even if it's only a card!
 
Site Design By Designer Blogs